Feeling: HAPPYHi humans! I recently just DIY-ed something and I love it a lot, so I'd like to share with all my invisible audience!!!
Materials- Shorts of choice (preferably white or cream)
- Lace ribbons ($2 from Daiso)
- Sewing kit
I actually took this old white jeans and snipped it off into shorts. The hem's rather uneven, but that's okay, because we're gonna sew in the lace!
Step 1: Cut off stray ends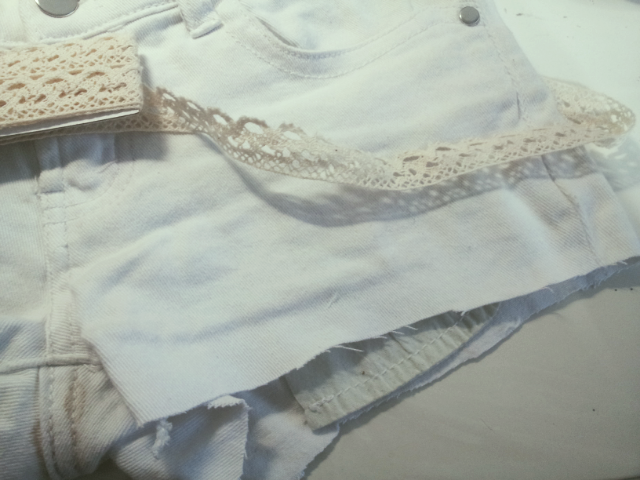
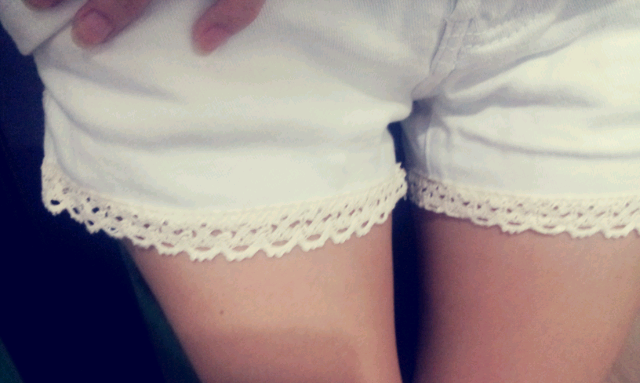
Here's a photo of the shorts w uneven hem, as well as the lace ribbons. Remember to cut off all stray ends off the jeans so that it'll look neat and not too messy.
Step 2: Sew!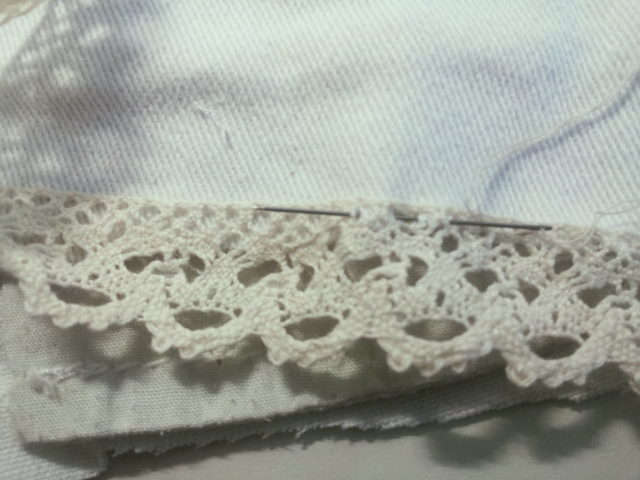
Start from the inside of the jeans. Meaning the part near your private part HAHAHA not the outside part. That's cause it'll look neater from the outside. Who will stare at your private part there right?
Notice that the lace has several holes cause of the design. What I do is insert the needle into the hole and sew from there. (See photo). It will just automatically look neat.
Step 3: Combine the two endsOkay so after you go one round, the ends of the lace ribbon have to be sewn together.
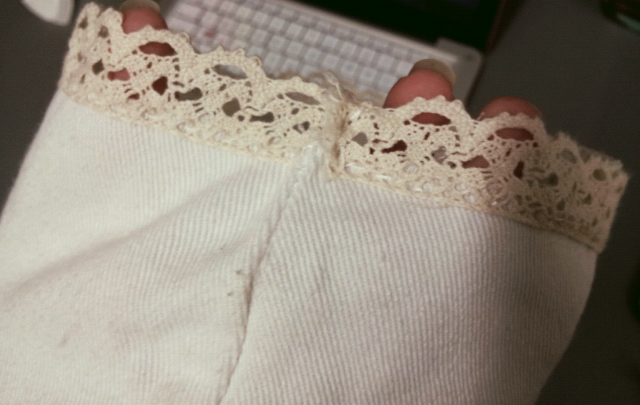
This is a bad example! Haha but it's my first time!
So you should cut the ribbon such that there's about 0.5cm overlap. Then from there, sew the 2 pieces of lace together. Sew a lot a lot times, because the lace is full of holes and the thread might come loose.
DO NOT end the thread at the lace! You should sew it together, then sew BACK UP to where the shorts and lace is, then sew a few more times to ensure that the thread does not come loose, then knot and cut the thread.
Step 4: Ribbons at pocket (optional)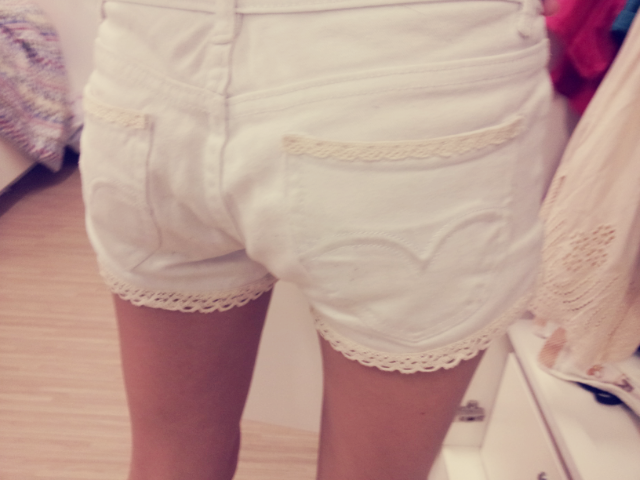
I had tinier lace ribbons, so I decided to sew it onto the pocket as well! The pocket was so hard and my needle broke HAHAHAHA. But I managed to sew it in in the end. :)
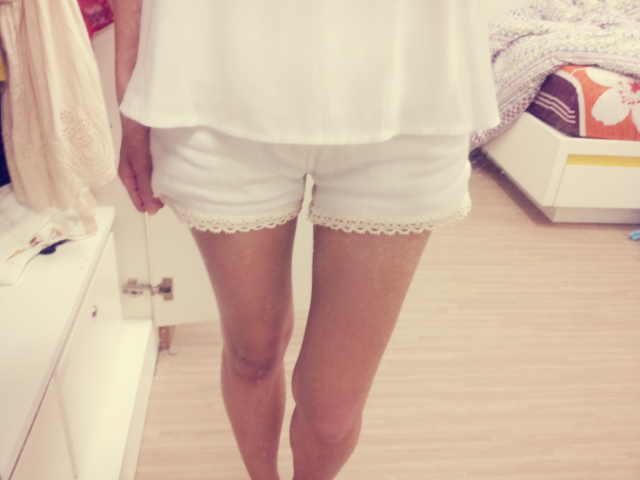
TADAH! :)
Labels: DIY